Let's start Skoove piano lessons.
Starting lessons with Skoove is easy! Follow these instructions to begin.
- Select a compatible browser
- Create a Skoove account and register your coupon code
- Connect your piano
- Let's try Skoove
- Lessons on iPhone and iPad
- Select a premium plan
1. Select a compatible browser
Since Skoove is browser-based, no software installation is necessary. Just navigate to Skoove's website to start learning.
Since it's an online lesson, Internet connection is required to continue.
Skoove has been fully tested on Google Chrome. We recommend using Google Chrome for the best experience.
Google Chrome
2. Create a Skoove account and register your coupon code
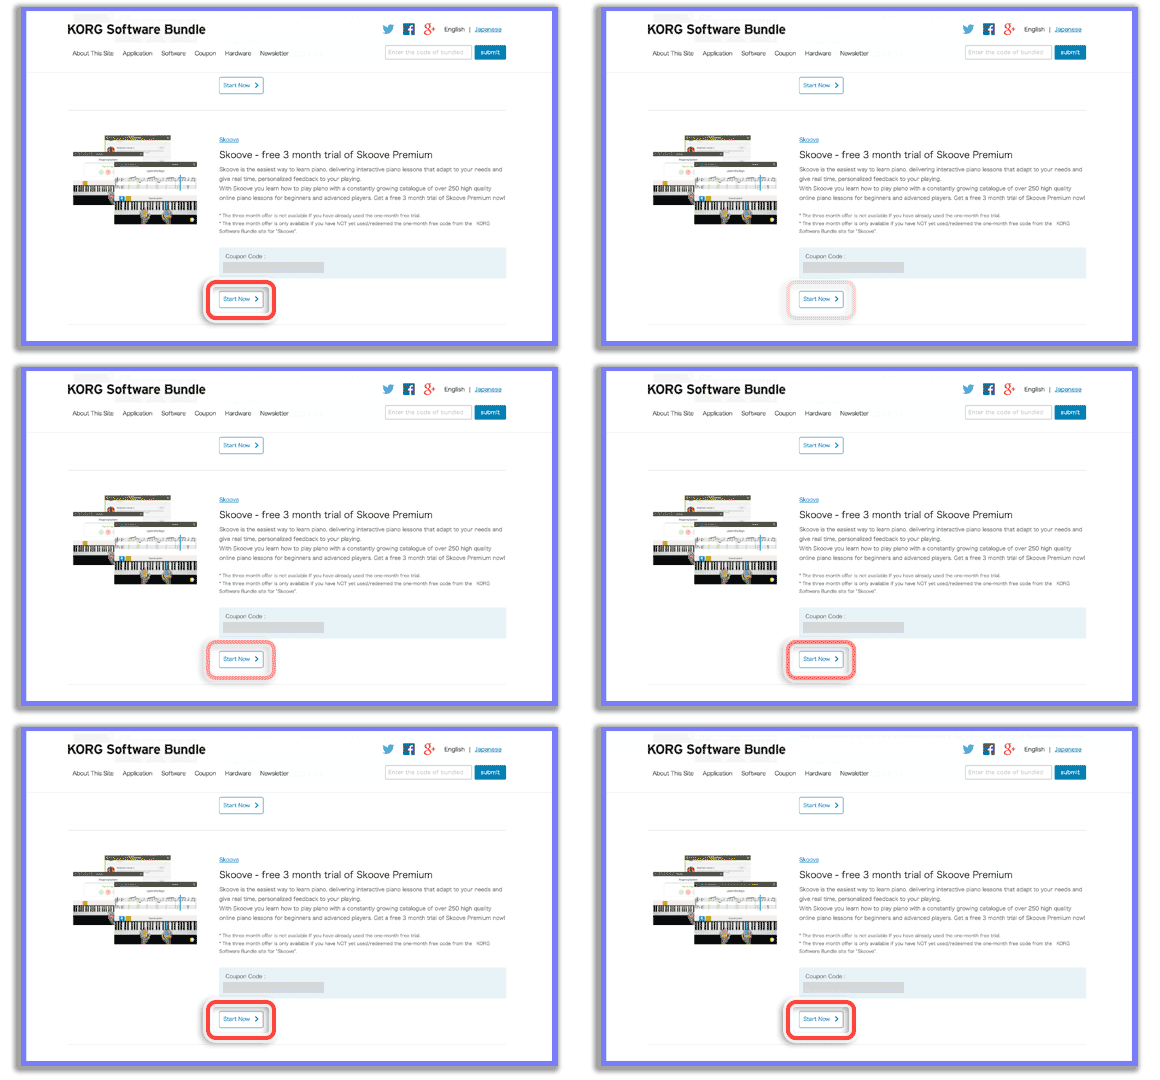
Make a note of the coupon code on the KORG Software Bundle page, and click "Start Now>".
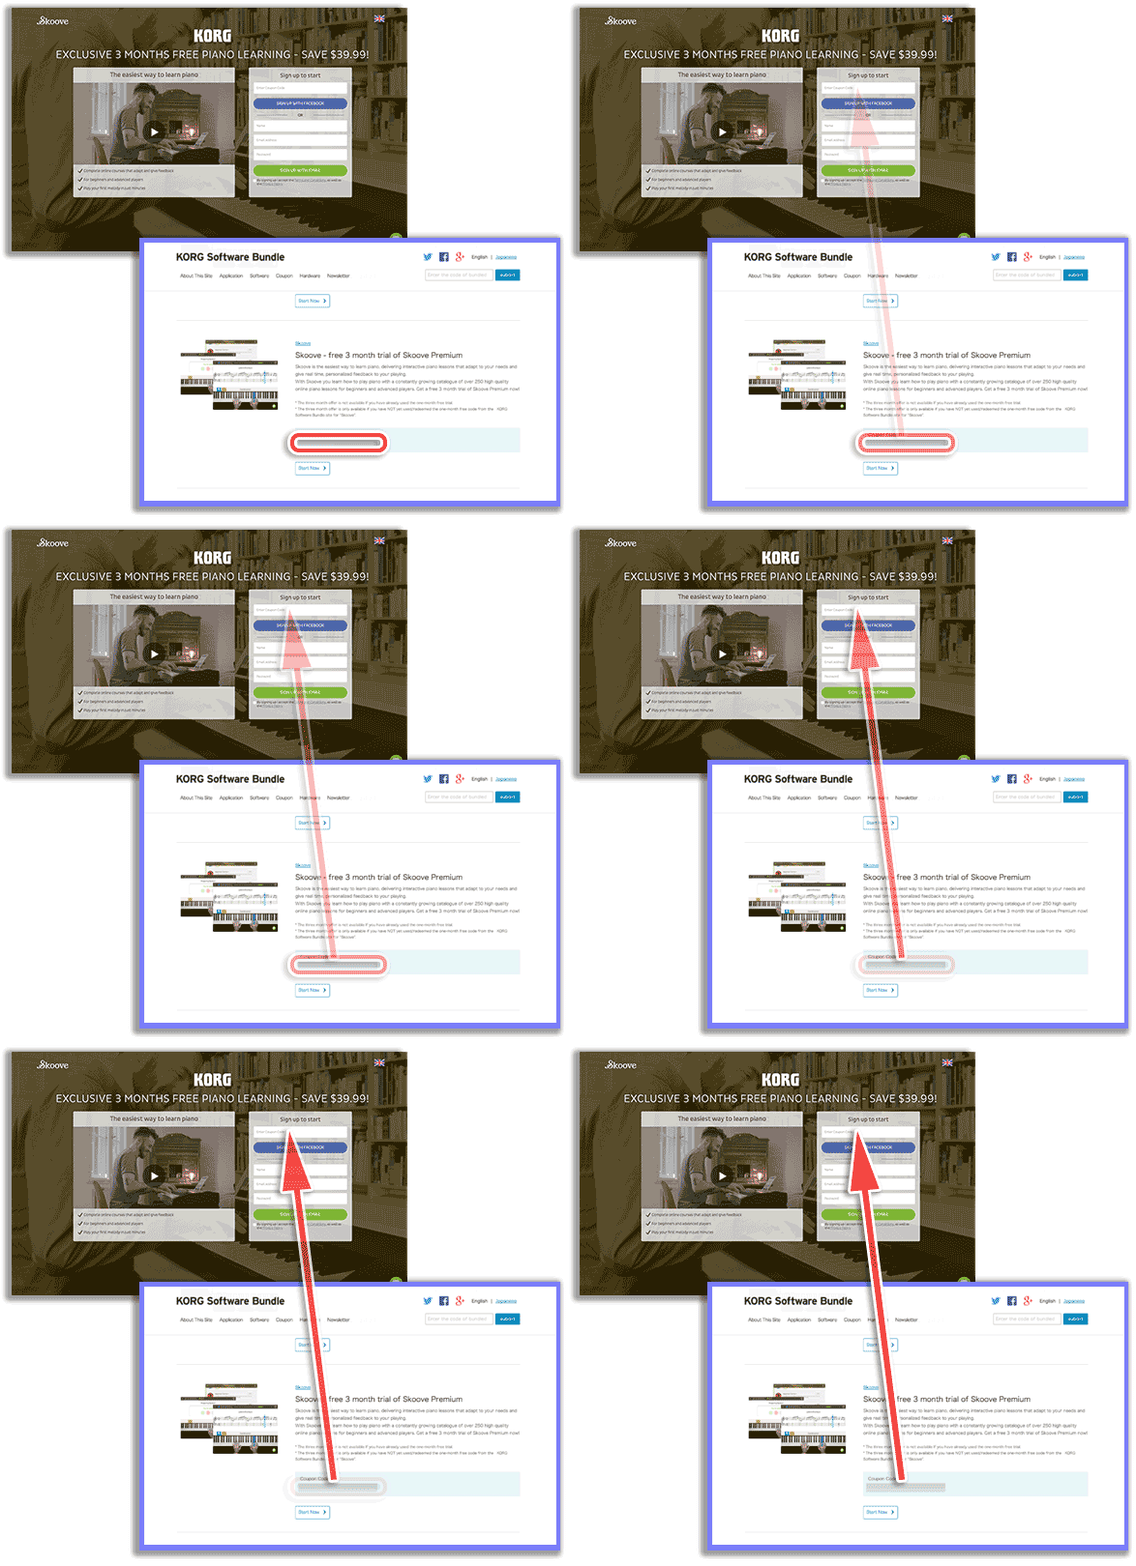
Enter the coupon code issued by the KORG Software Bundle page, name, email address and password, and click "Sign up with email".
To create an account with your Facebook account, click "Sign up with Facebook", and follow the onscreen instructions.
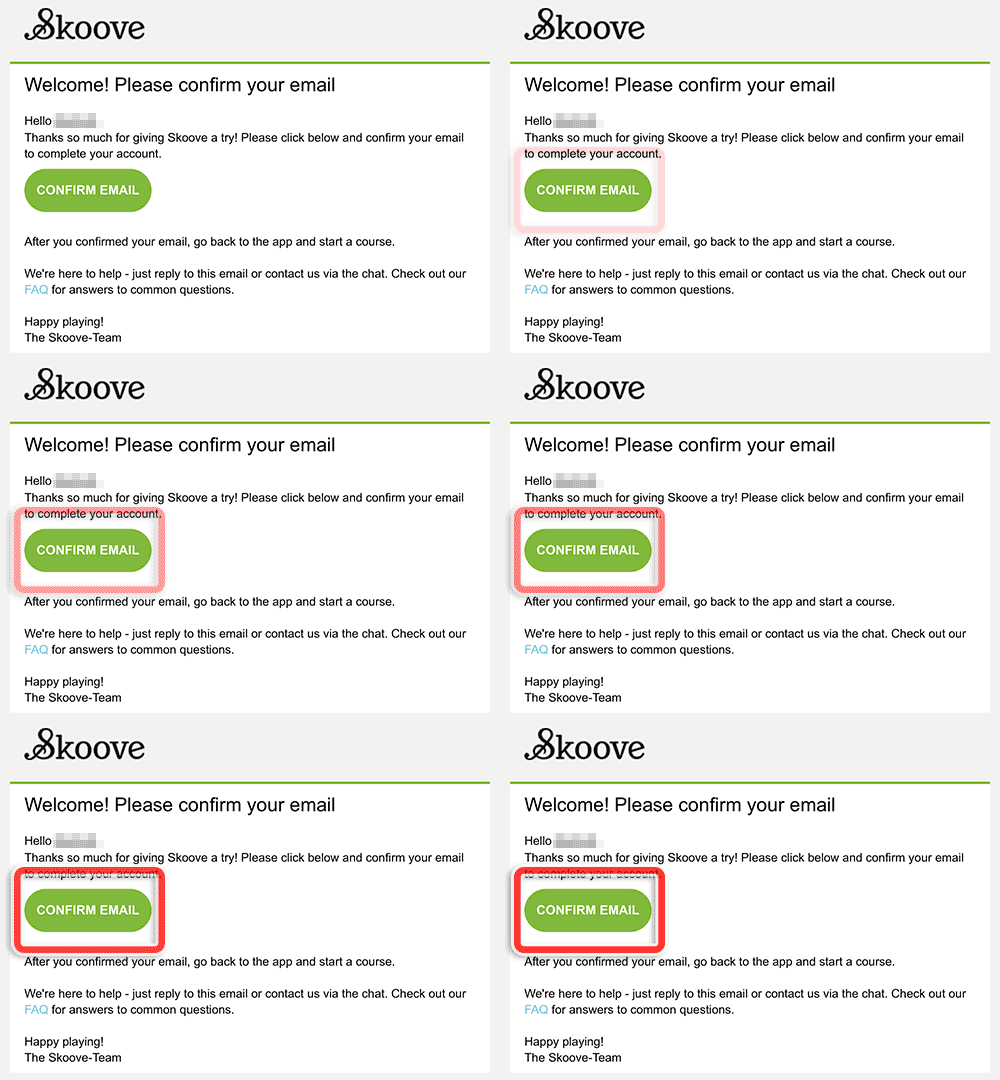
When you click "Sign up with email", you will receive an email (titled: "Welcome to Skoove! Please confirm your email").
Please click the "Confirm email" link to validate.
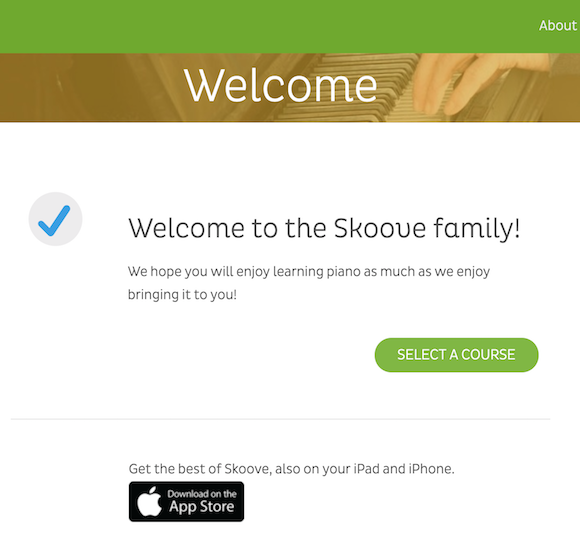
If you see "Welcome to the Skoove Family!", you have successfully created your Skoove account.
If you do not register the coupon code when creating your Skoove account, you can register it later.
3. Connect your piano
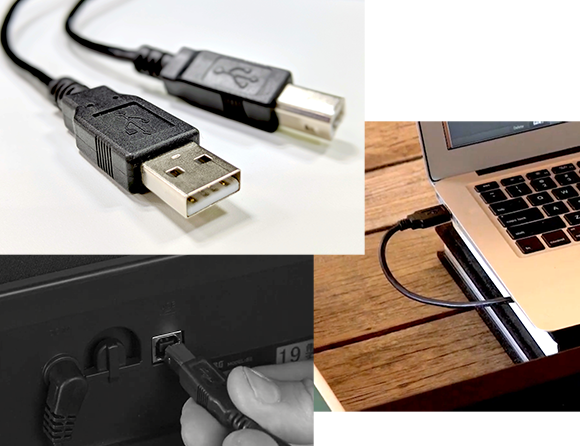
When using a piano with USB MIDI, connect the USB cable from your piano to the computer.
Configure your keyboard settings:
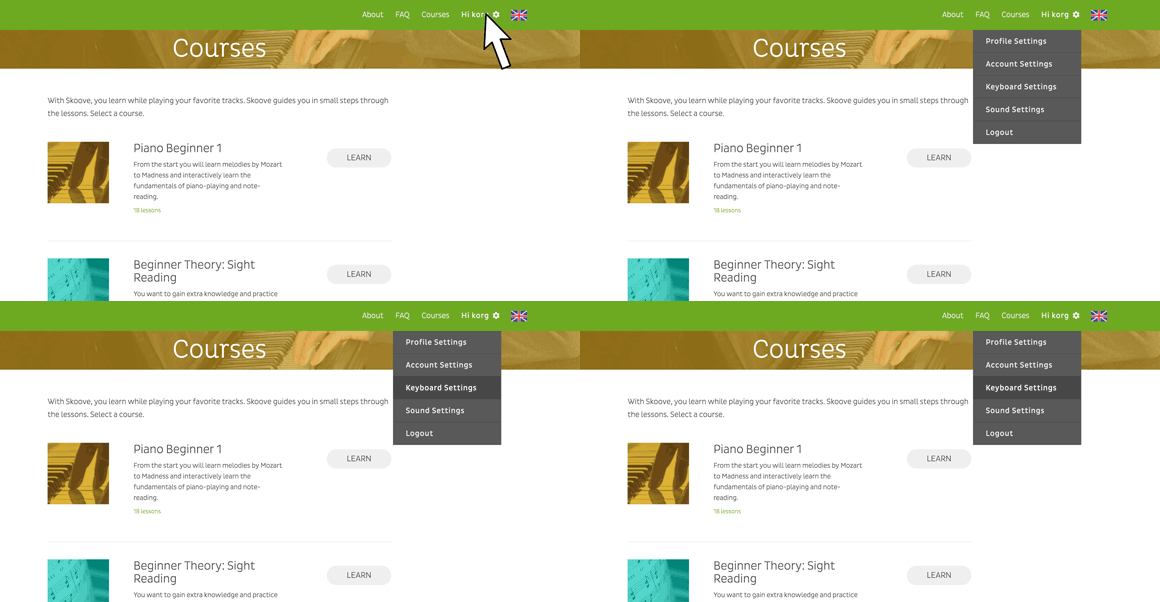
Find the gear icon near your account name in the upper right corner, and click "Keyboard Settings".

If you are using B2, a MIDI controller, or a synthesizer, select "USB or MIDI keyboard".
In addition to a MIDI keyboard, you can also use an acoustic piano through the sound input from your computer microphone for lessons.
Skoove automatically detects the keyboard connected to the computer.
For example, when B2 is connected, you will see something like this.

If multiple keyboards are detected, and several identical keyboard names appear, it is recommended to select "model name KEYBOARD" (e.g. B2 KEYBOARD, etc.).
* If nothing is displayed, the computer may not recognize the keyboard. If this happens, try re-inserting the USB cable, restarting your browser, or restarting your computer.
Select the keyboard you want to use and click "OK".
When the connected keyboard is recognized, set the keyboard range.
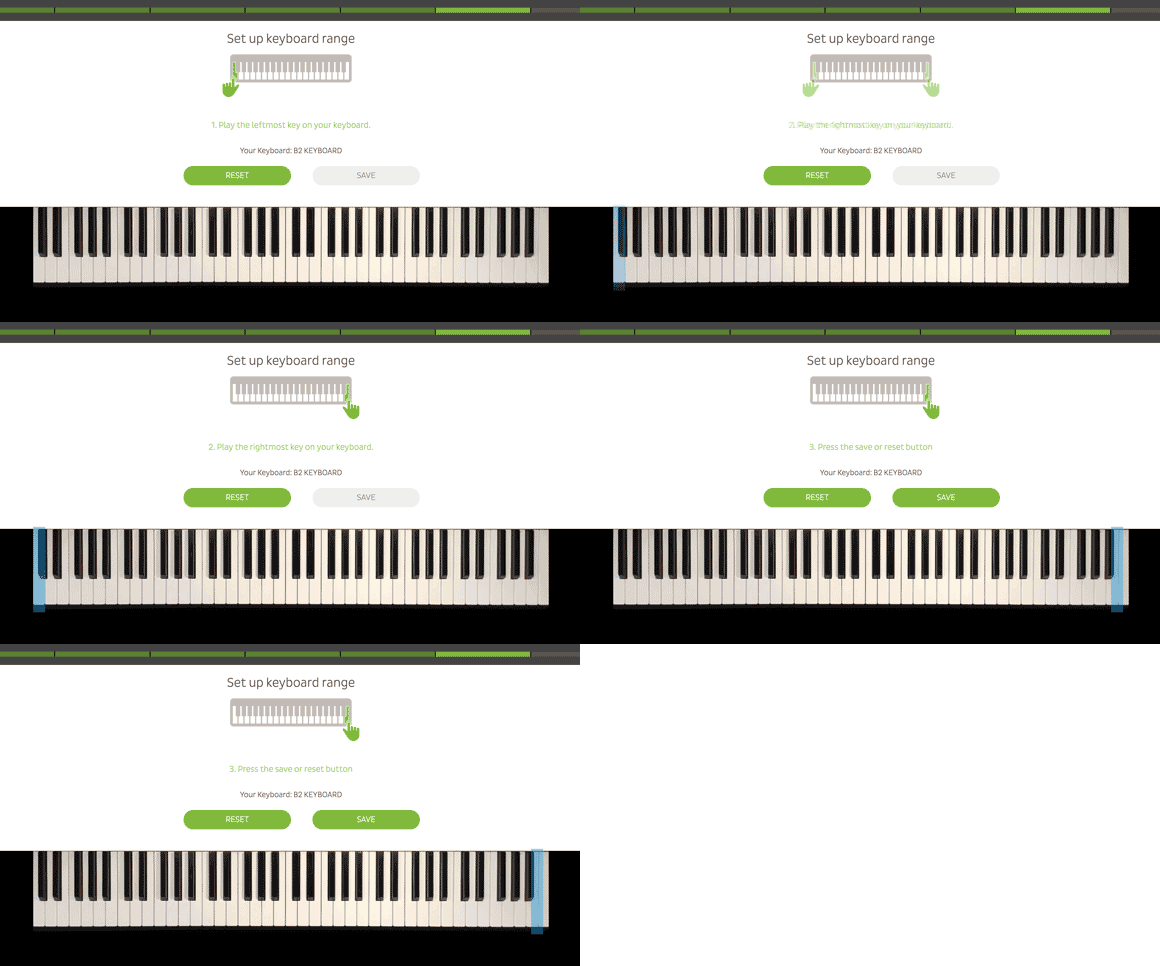
Follow the instructions on the screen, and press the leftmost key and rightmost key of the keyboard to set the range.
Click "Save" to save your settings.
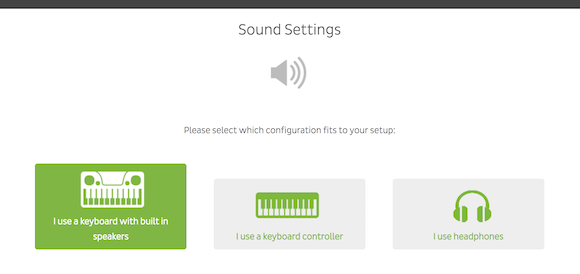
Set the sound according to your environment.
4. Let's try Skoove

Select the desired course and click "Learn".
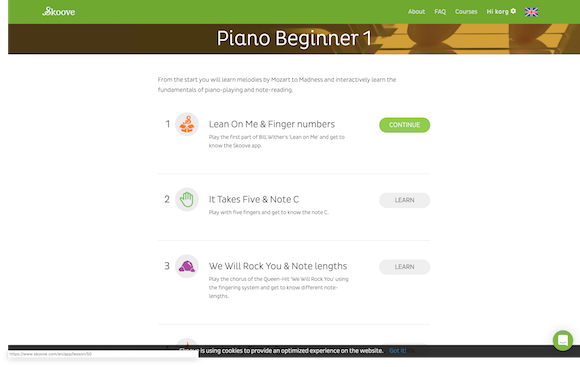
Select a lesson and click "Learn".
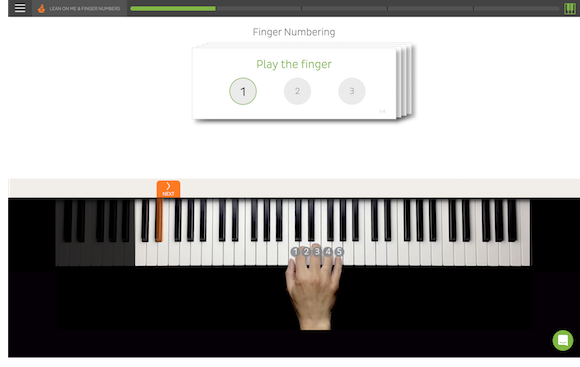
Follow the instructions on the screen to proceed with the lesson.
5. Lessons on iPhone and iPad
You can also use Skoove with your iPhone or iPad for lessons.
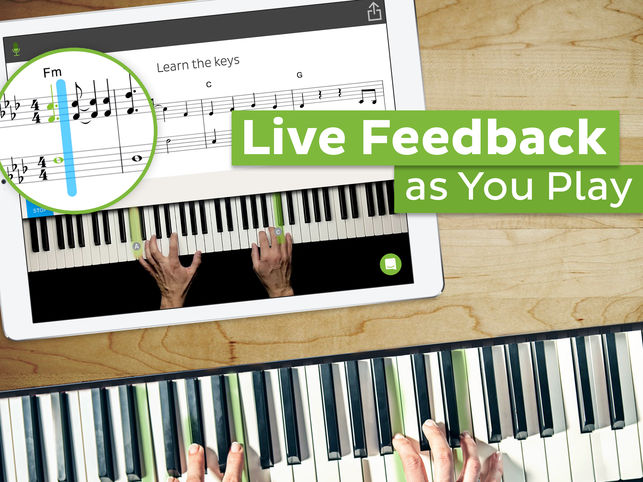

First, get the Skoove app.
Skoove - Learn Piano
Although you can create an account within the Skoove app, you can not register a coupon code.
It is recommended that you do not create an account or register a coupon code with the Skoove app, but on Skoove's site with a mobile browser such as Safari.
Open Skoove's site with a mobile browser such as Safari.
Press "Login".
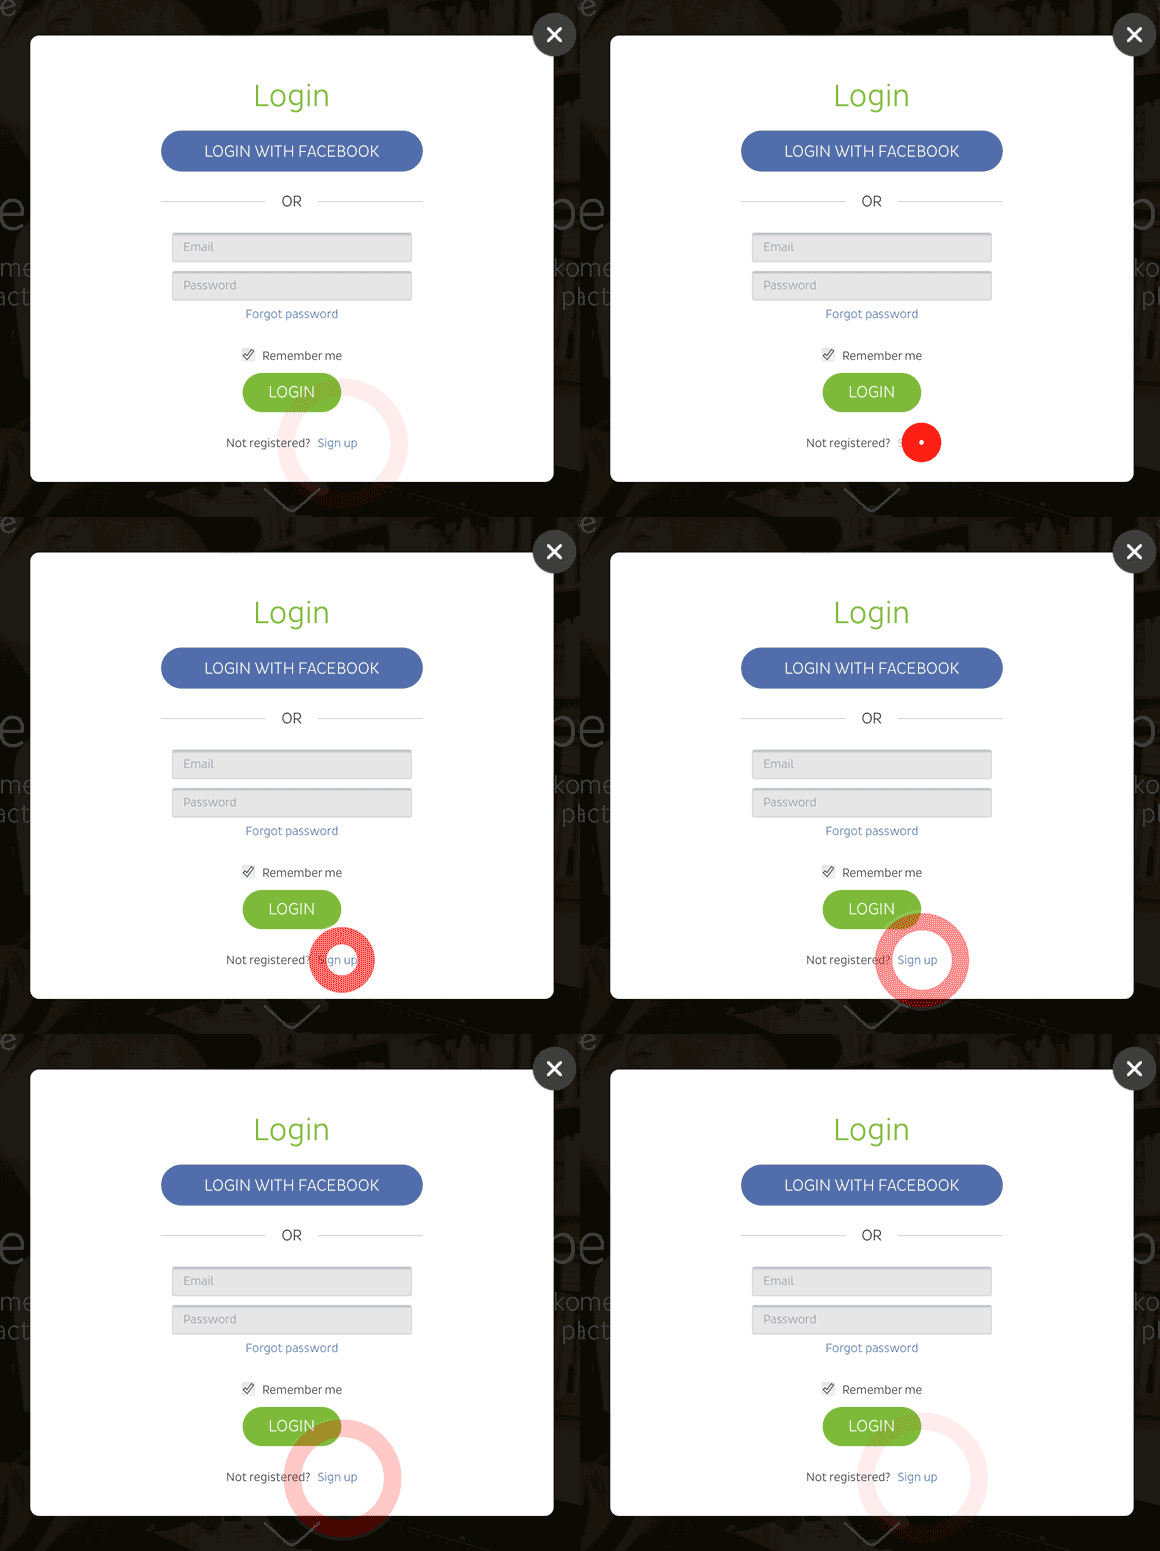
Press "Sign Up".
Enter your name, email address and password on the signup page, and press "Sign up with email".
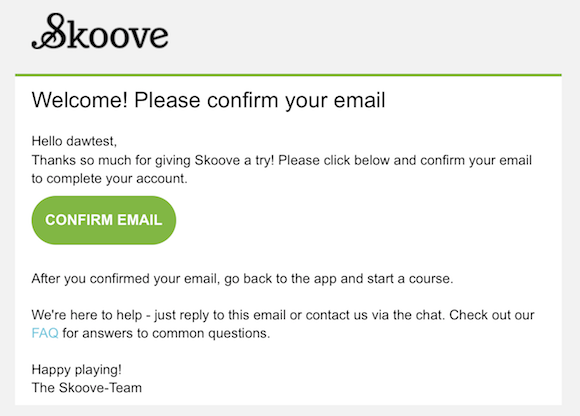
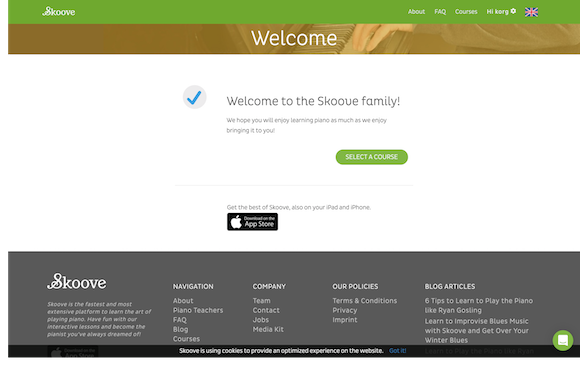
When you click "Sign up with email", you will receive an email (titled: "Welcome to Skoove! confirm your email").
Please click the "Confirm email" link to validate.
If you see "Welcome to the Skoove family!", you have successfully created your Skoove account.
Log in with the created account.
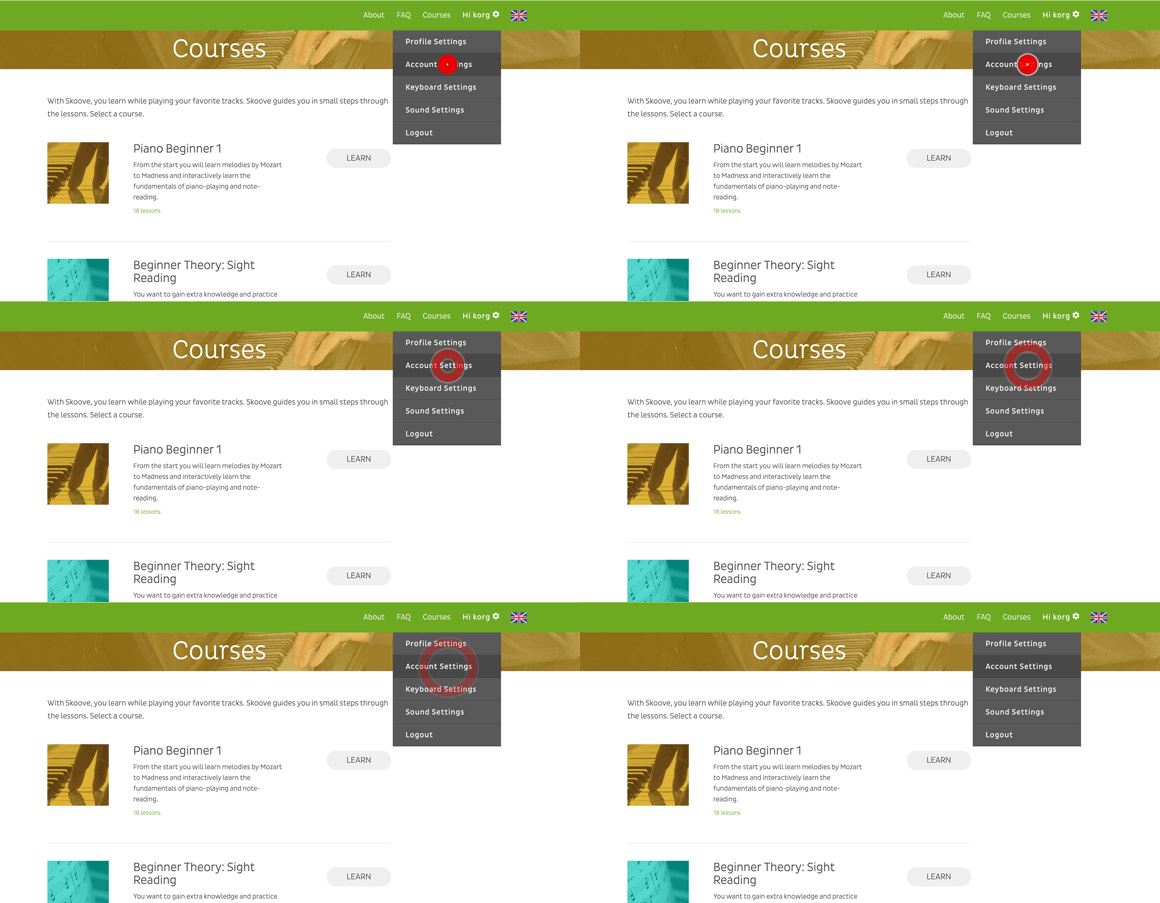
Press "Account Settings" from the gear icon by your account name in the upper right corner.
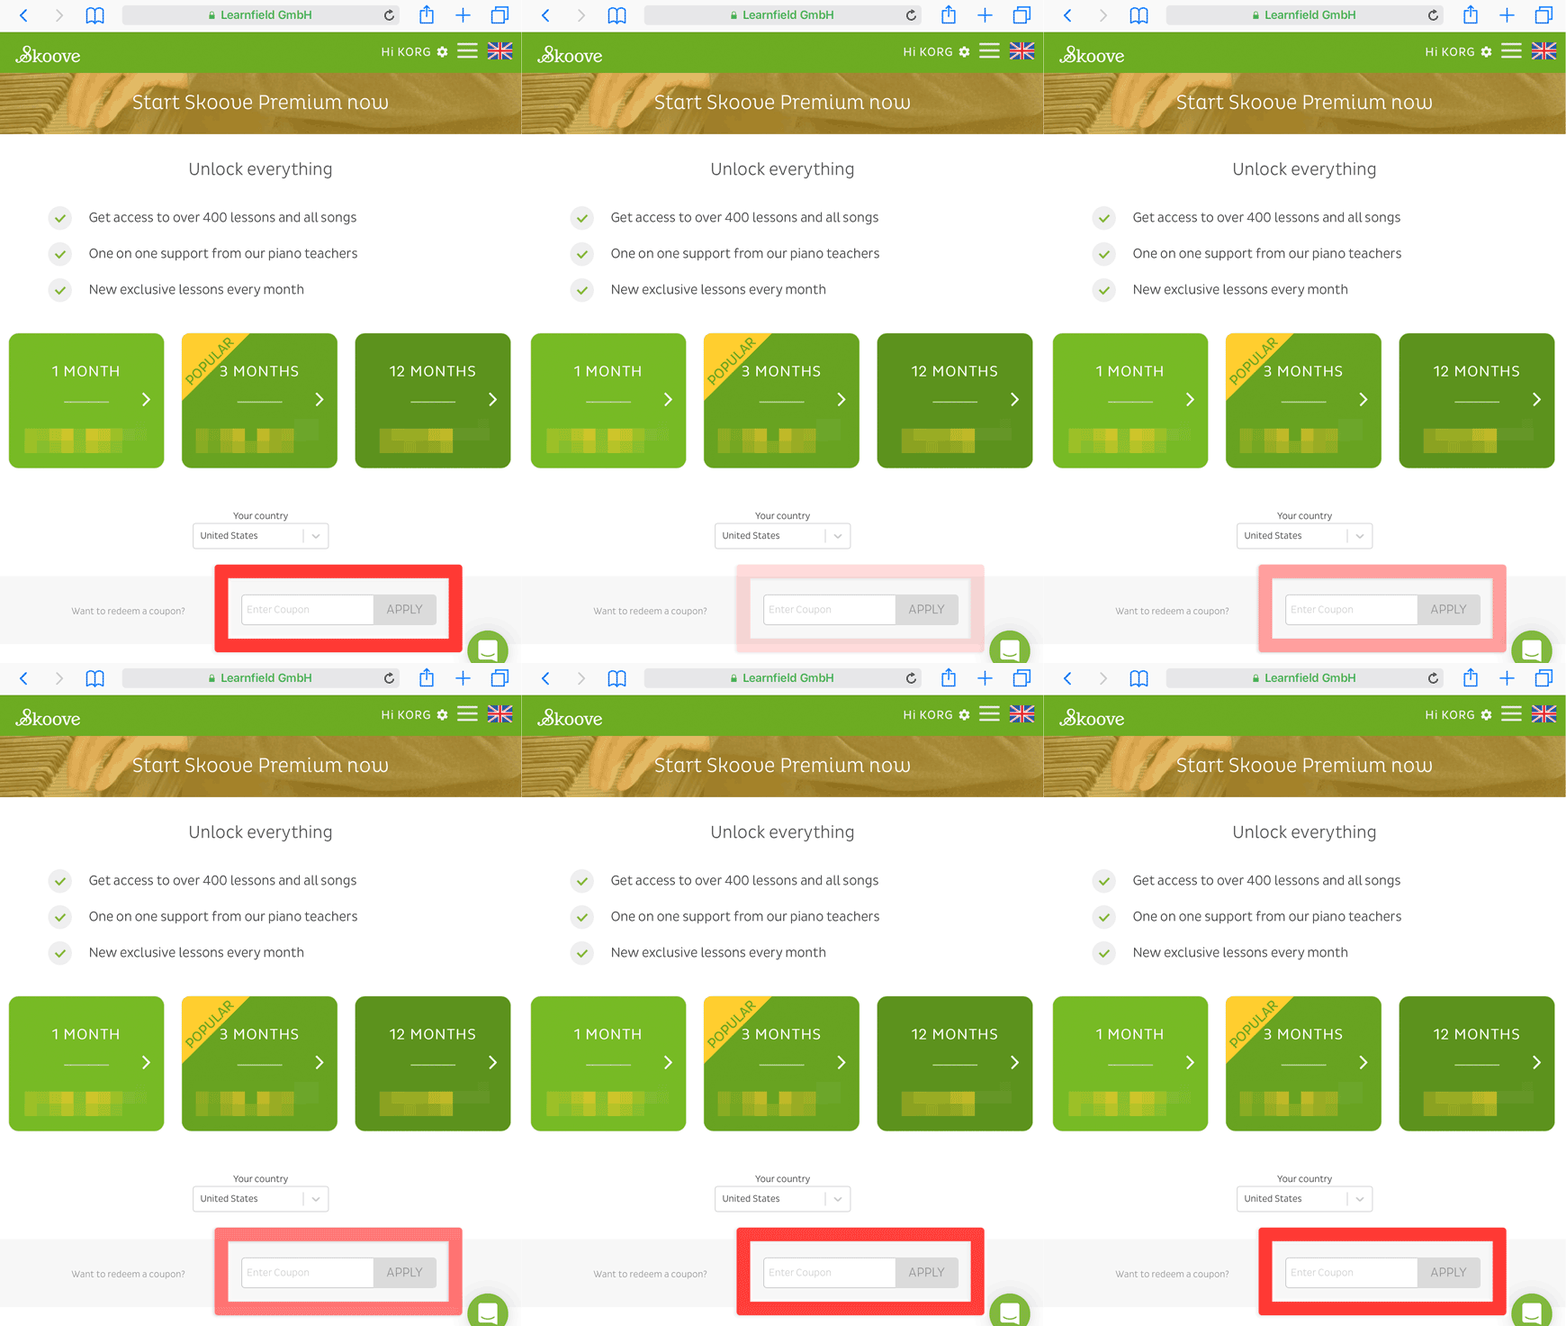
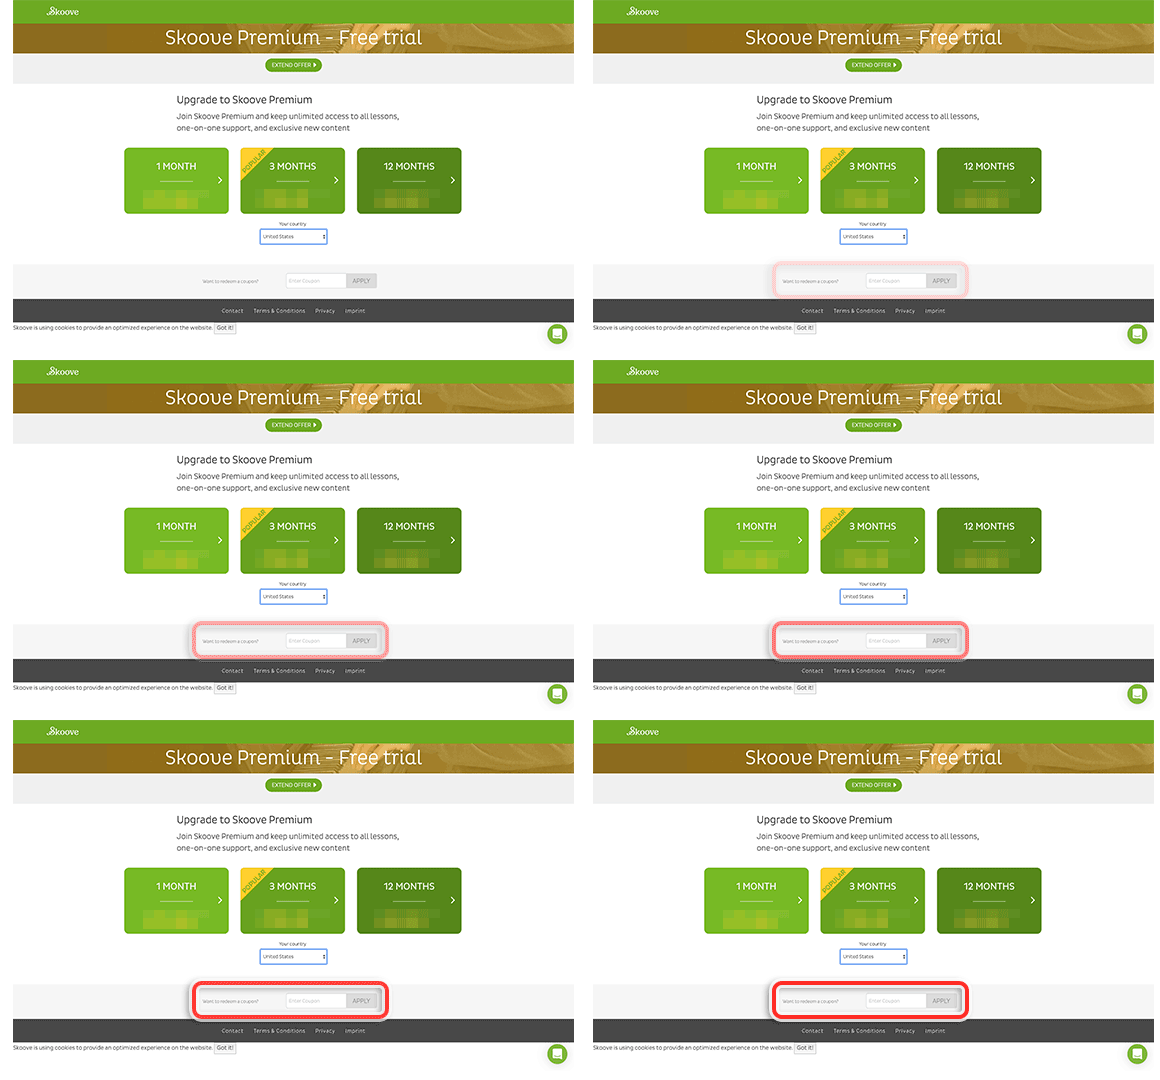
Enter the coupon code in "Want to redeem a coupon?", and press "Apply".
If the coupon code is correctly applied, the end date of the free trial will be displayed.
Start the Skoove app, and log in to start the lesson.
6. Select a premium plan
Skoove has a basic plan, and premium plan.
You can use the premium plan during the free trial period, but you can not use the premium plan after the trial period ends.
While basic plans offer limited courses and lessons, you can extend the premium plan to continue using all of Skoove's services and lessons.
- Skoove Basic: Select lessons are available free of charge.
- Skoove Premium: New lessons are added every month, giving full access to all course lessons.
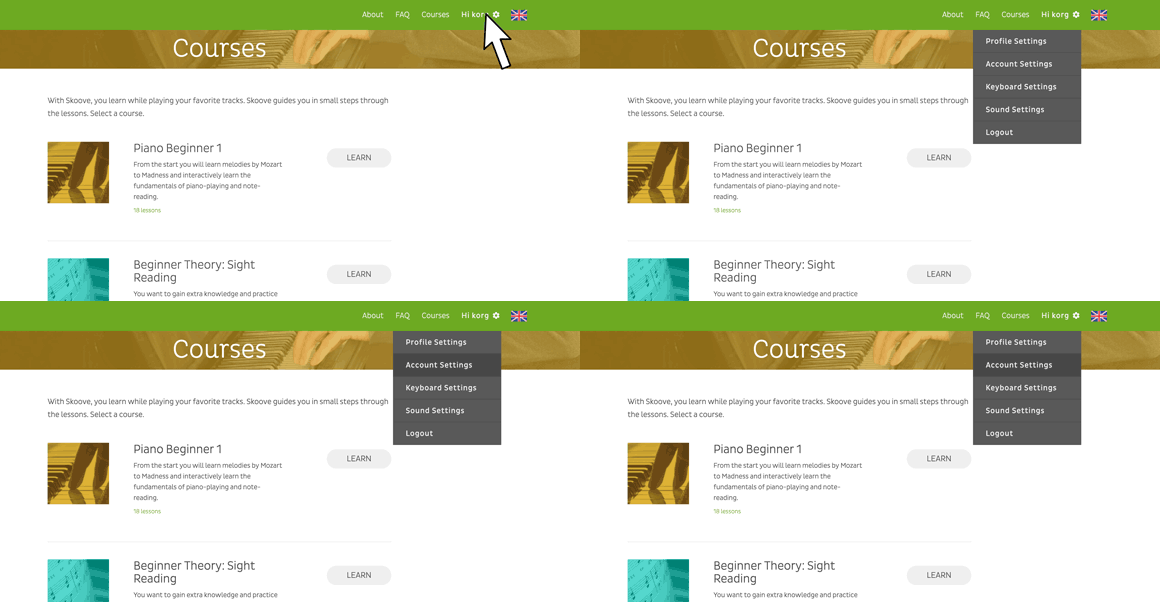
Place the cursor on the gear icon by your account name in the upper right corner, and click "Account Settings".
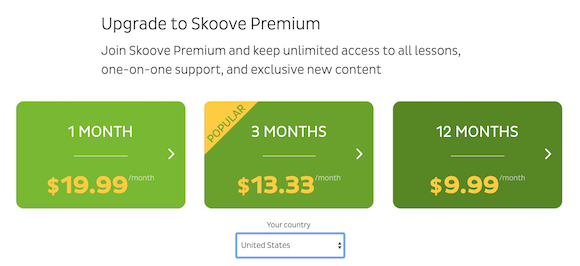
Skoove has 3 plans: 1 month, 3 months, and 12 months. (* Prices are for June 2019, and these may differ from actual prices. Please check the prices displayed on the actual page.)
Click on the desired period.
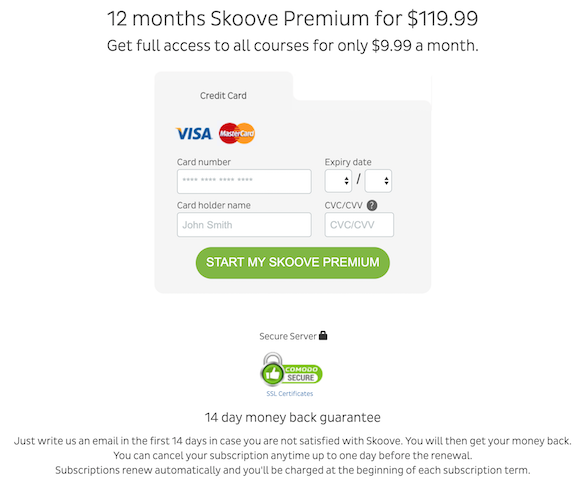
Credit card is required for payment.
Enter your credit card information, and click "START MY SKOOVE PREMIUM".
Skoove is a subscription contract.
- In case of 1-month subscription: $ 19.99 per month
- In case of 3-month subscription: $ 13.33 per month ($ 39.99 will be charged every 3 months)
- In case of 12 month subscription: $ 9.99 per month ($ 119.99 will be charged every 12 months)
You will be automatically billed at the time of contract renewal unless you cancel the subscription contract.
(* Prices are for June 2019, and these may differ from actual prices. Please check the prices displayed on the actual page.)
How to cancel a subscription
- Open the menu, and open "Account Settings".
- Click "Would you like to cancel your subscription?" At the bottom of the account page.
The Manage Subscriptions page gives you the options to select the reason for your subscription cancellation. Choose a reason or choose Other, and enter another reason in the text box. - Click "Continue" at the bottom of the page.
- Then click "Unsubscribe" at the bottom of the page to cancel the subscription.
Your subscription has been cancelled.
The cancellation is complete, but you can enjoy the premium plan as it is until the next update date.
For more information on other aspects of Skoove, please see the "Frequently Asked Questions".

Comments
Article is closed for comments.